In this material, we’ll explore how to create a module using a set of special terminal utilities provided by Industrial Builder. The build kit is automatically added to the target folder when creating external modules, before compiling the program components. Of course, this kit is available in the application's project repository. Let’s try creating a module for accessing a force-torque sensor.
Device
For a robot to sense the objects it interacts with, it needs sensory devices. A force-torque sensor is one such device: it enables the robot not only to pat-pat-pat but also to feel its own touches. The force-torque sensor returns data about the forces and torques acting upon it.
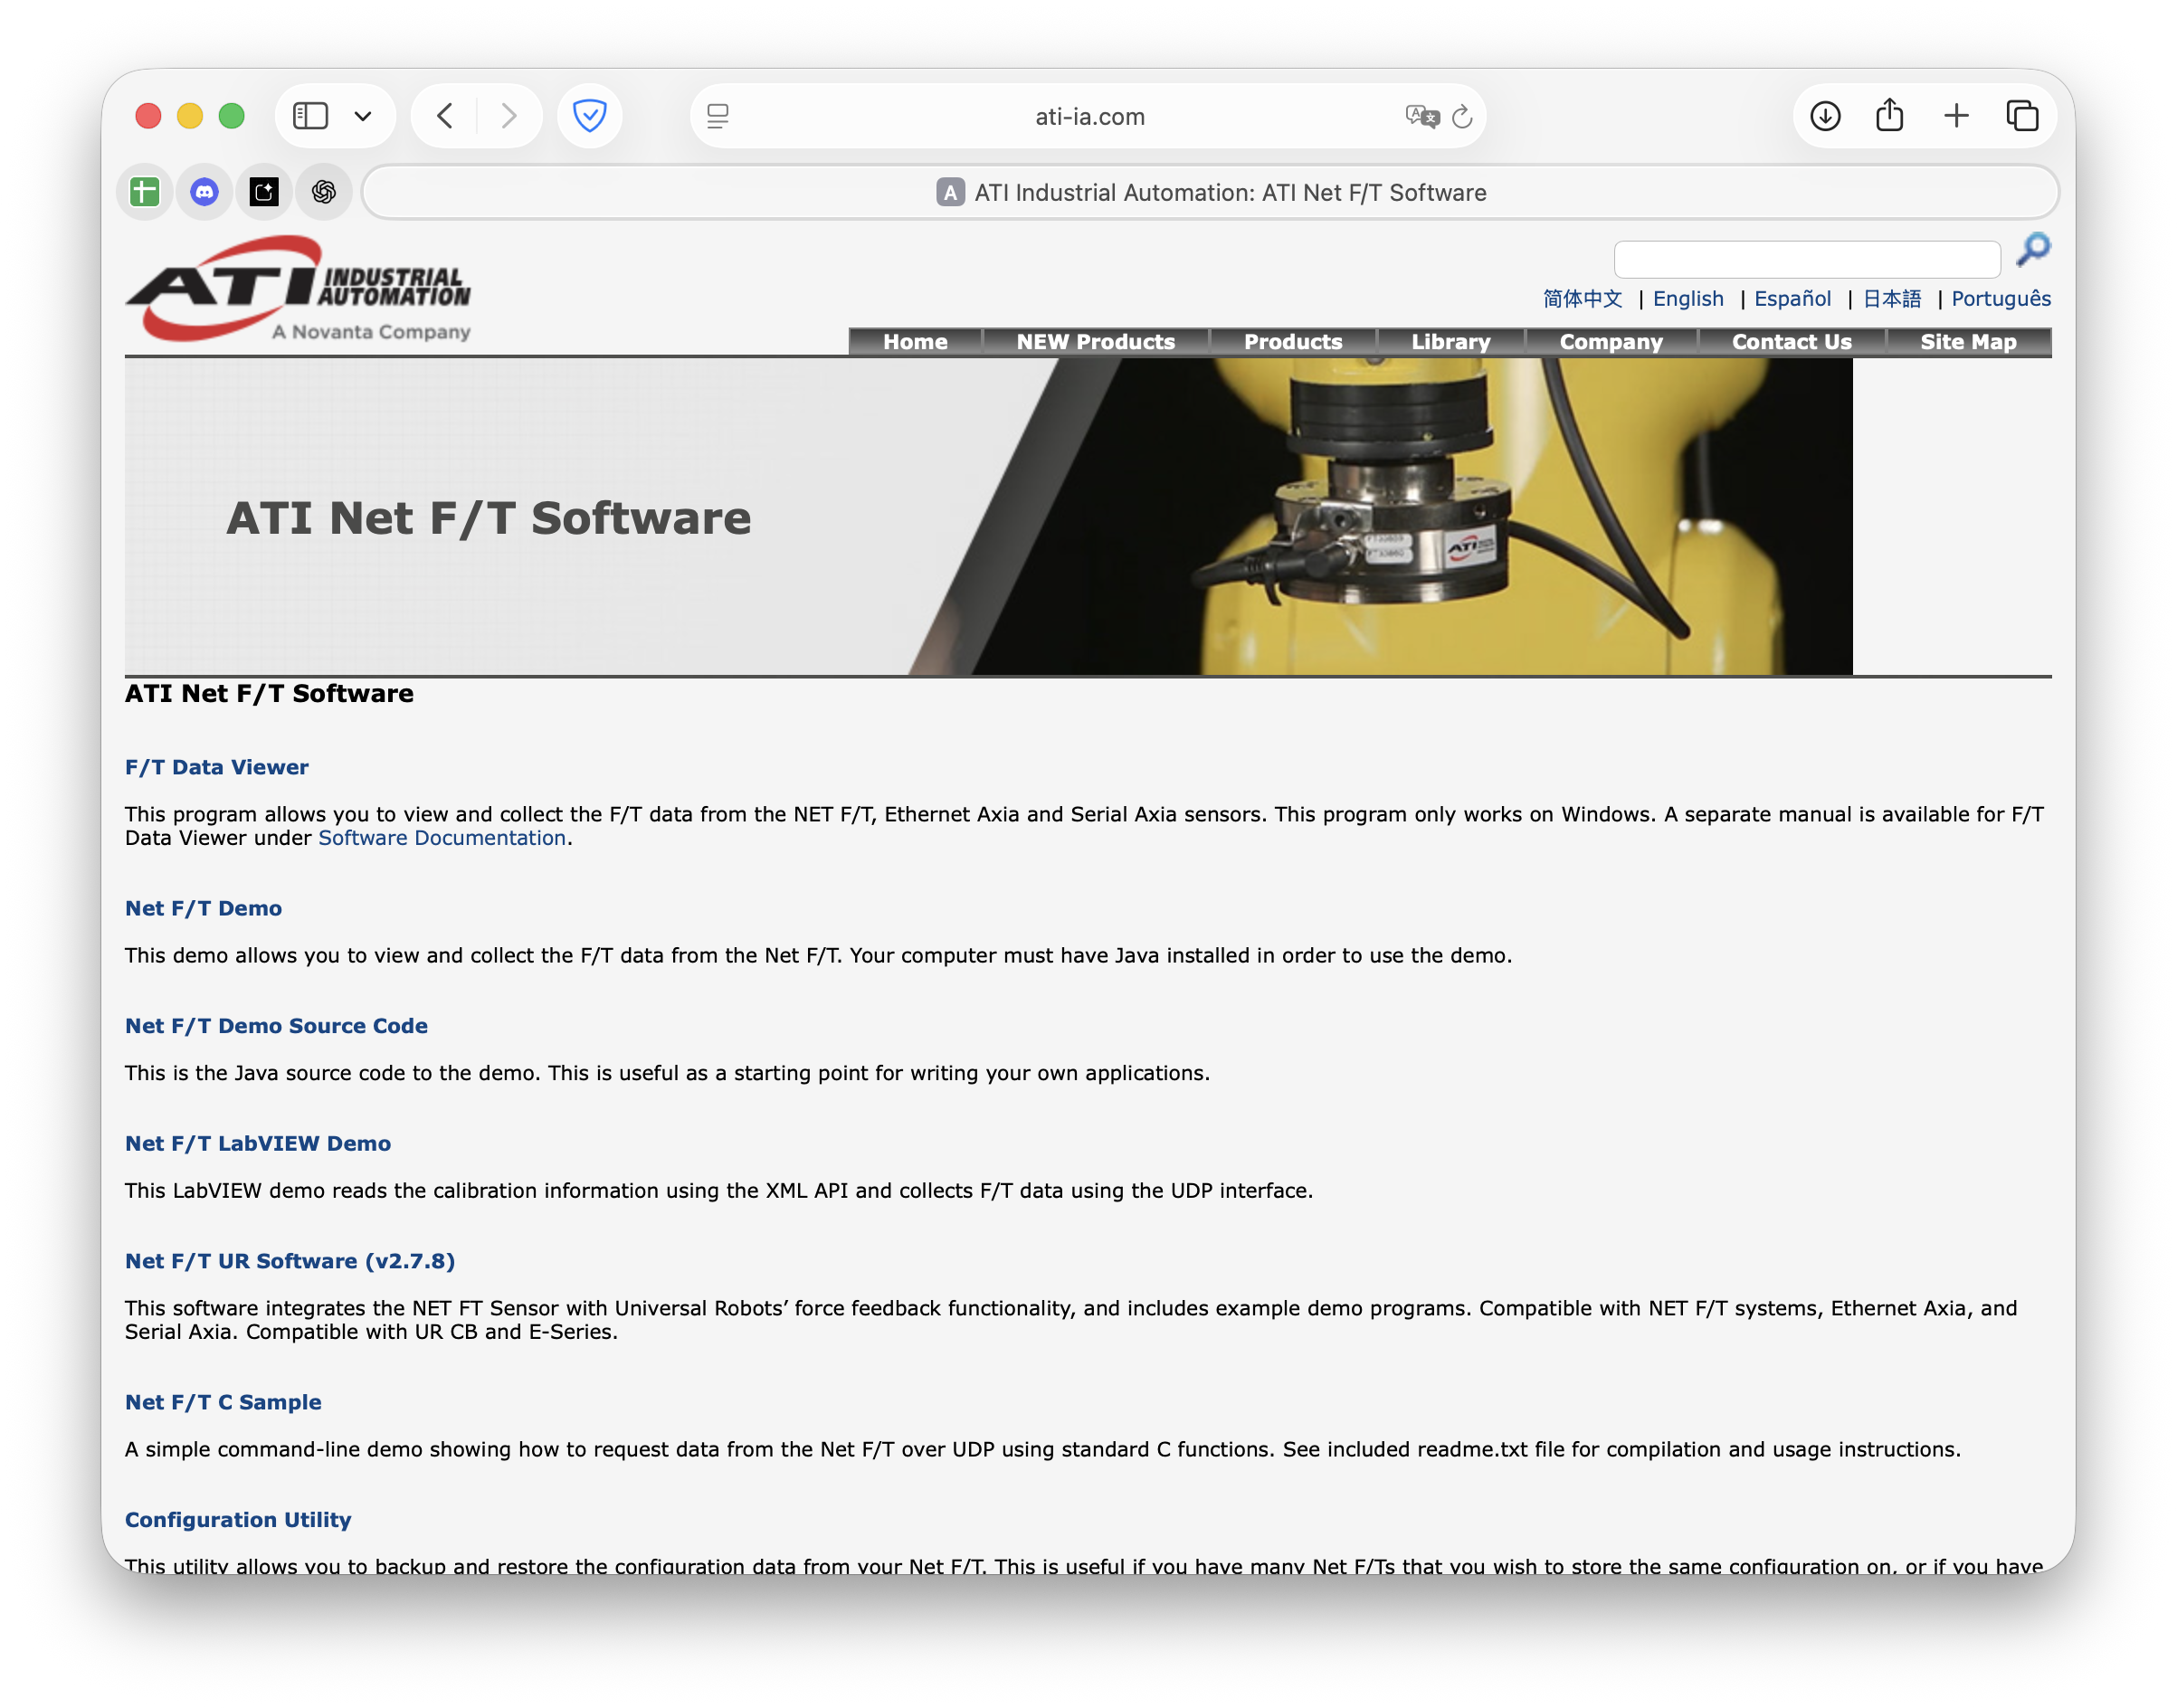
So, we’ve got ourselves a sensor. How do we use it? First, identify the manufacturer and find the software. Luckily, we already know – it's ATI. We visit the manufacturer's website and look for the software. Which is absolutely essential, without it, any device is just a mounting or useless decoration.
Nice, there’s not only software but also source code. The best option is a simple script to read data. And it exists – it's Net F/T C Sample.
Code
The project contains the source code as a single listing (netft.c) and is intended to be compiled using the GNU C Compiler. We rewrite the code from C to Swift using the basic Foundation framework, for example with the help of artificial intelligence. We send the original netft code together with the following request:
Now rewrite the terminal application code I attached in Swift.
And we receive the application code, which we save in the netft.swift listing, placing it in the same folder as the Modules Building Kit scripts:
Program
How do we turn this listing into an application? First, it needs to be transformed into a project, from which an executable file can then be compiled.
Tap the ListingToProject script, then drag the netft.swift listing onto it and press Enter. As a result, in the same folder where we launched the script, a project named netft_Project will appear.
Any MBK script can be launched either by tapping it or via the terminal. To do so, first choose Open Folder in Terminal, then enter the script's name. When launched this way, script arguments also become available. For example, if we want to turn the script into a project without saving the original listing file, we can launch ListingToProject like this:
./ListingToProject.command --clear netft.swift
Or we can enter the listing name after pressing Enter.
The resulting project is a Swift Package containing the code of the original listing inside main.swift. The project manifest specifies the latest version of the IndustrialKit library, allowing the application to import and use industrial functionality (import IndustrialKit).
Work on the project can be continued in Xcode.
Now, to compile the program's executable file, we use the next script – ProjectToProgram. We launch the script and select the netft_Project. To turn the project into an executable file without keeping the project, we must launch the script with the --clear argument.
The resulting executable file appears in the same folder as the project and receives the name netft (the same as the original listing).
Sometimes, however, a developer does not have a ready listing and first needs to create a project. The IndustrialAppPackageMake script allows creating a new empty project of an application with industrial functionality; it takes the future executable file name as an input argument. The project name is generated by adding the _Project postfix.
./IndustrialAppPackageMake IndustrialApp
Testing
To connect to the force/torque sensor, we connect to the local industrial network via Ethernet. To do this, we configure the settings using the corresponding service, which is named Ethernet (if the port is built-in) or the controller name (if an adapter is used):
We connect the Ethernet cable and try running netft. We specify the force/torque sensor’s IP address in the local industrial network (in our case it is 169.254.5.178):
./netft 169.254.5.178
And we get the following output:
Status: 0x80020000
Fx: -64551326
Fy: -43820232
Fz: -6076648
Tx: -7989061
Ty: 833312
Tz: -2394311
Let’s see what it looks like:
Modules
The development of external plug-in modules – adding support for various industrial equipment in a robotic cell and extending control functionality – implies a certain workflow. The software components of a module set may exist in different states: as listings, as application projects, or as executable files – all together or separately.
To convert module software components, the BuildModulePrograms script is provided. The script supports a greater variety of arguments and allows specifying several module packages whose components will be processed.
- (no argument) — compile existing application projects of module software components into executable files.
-
--clear– turn existing application projects of module software components into executable files (projects will be removed). -
--programs– turn listings of module software components into executable files. -
--projects– turn listings of module software components into application projects. -
--projects-programs– turn listings of module software components into application projects and then compile executable files from them.
Let us look at the script workflow using an example of a module package of a pneumatic gripper, whose software components were collected without any compilation. Its software components are located in the Code folder and are Swift listings.
For development and compilation testing, we need to convert the listings into projects.
./BuildModulePrograms.command --projects /Users/malkarovpark/Documents/Industrial/Spline\ Build/Development/Resources/ATI\ F\:T\ Sensor/netft/ATI\ FT\ Sensor.tool
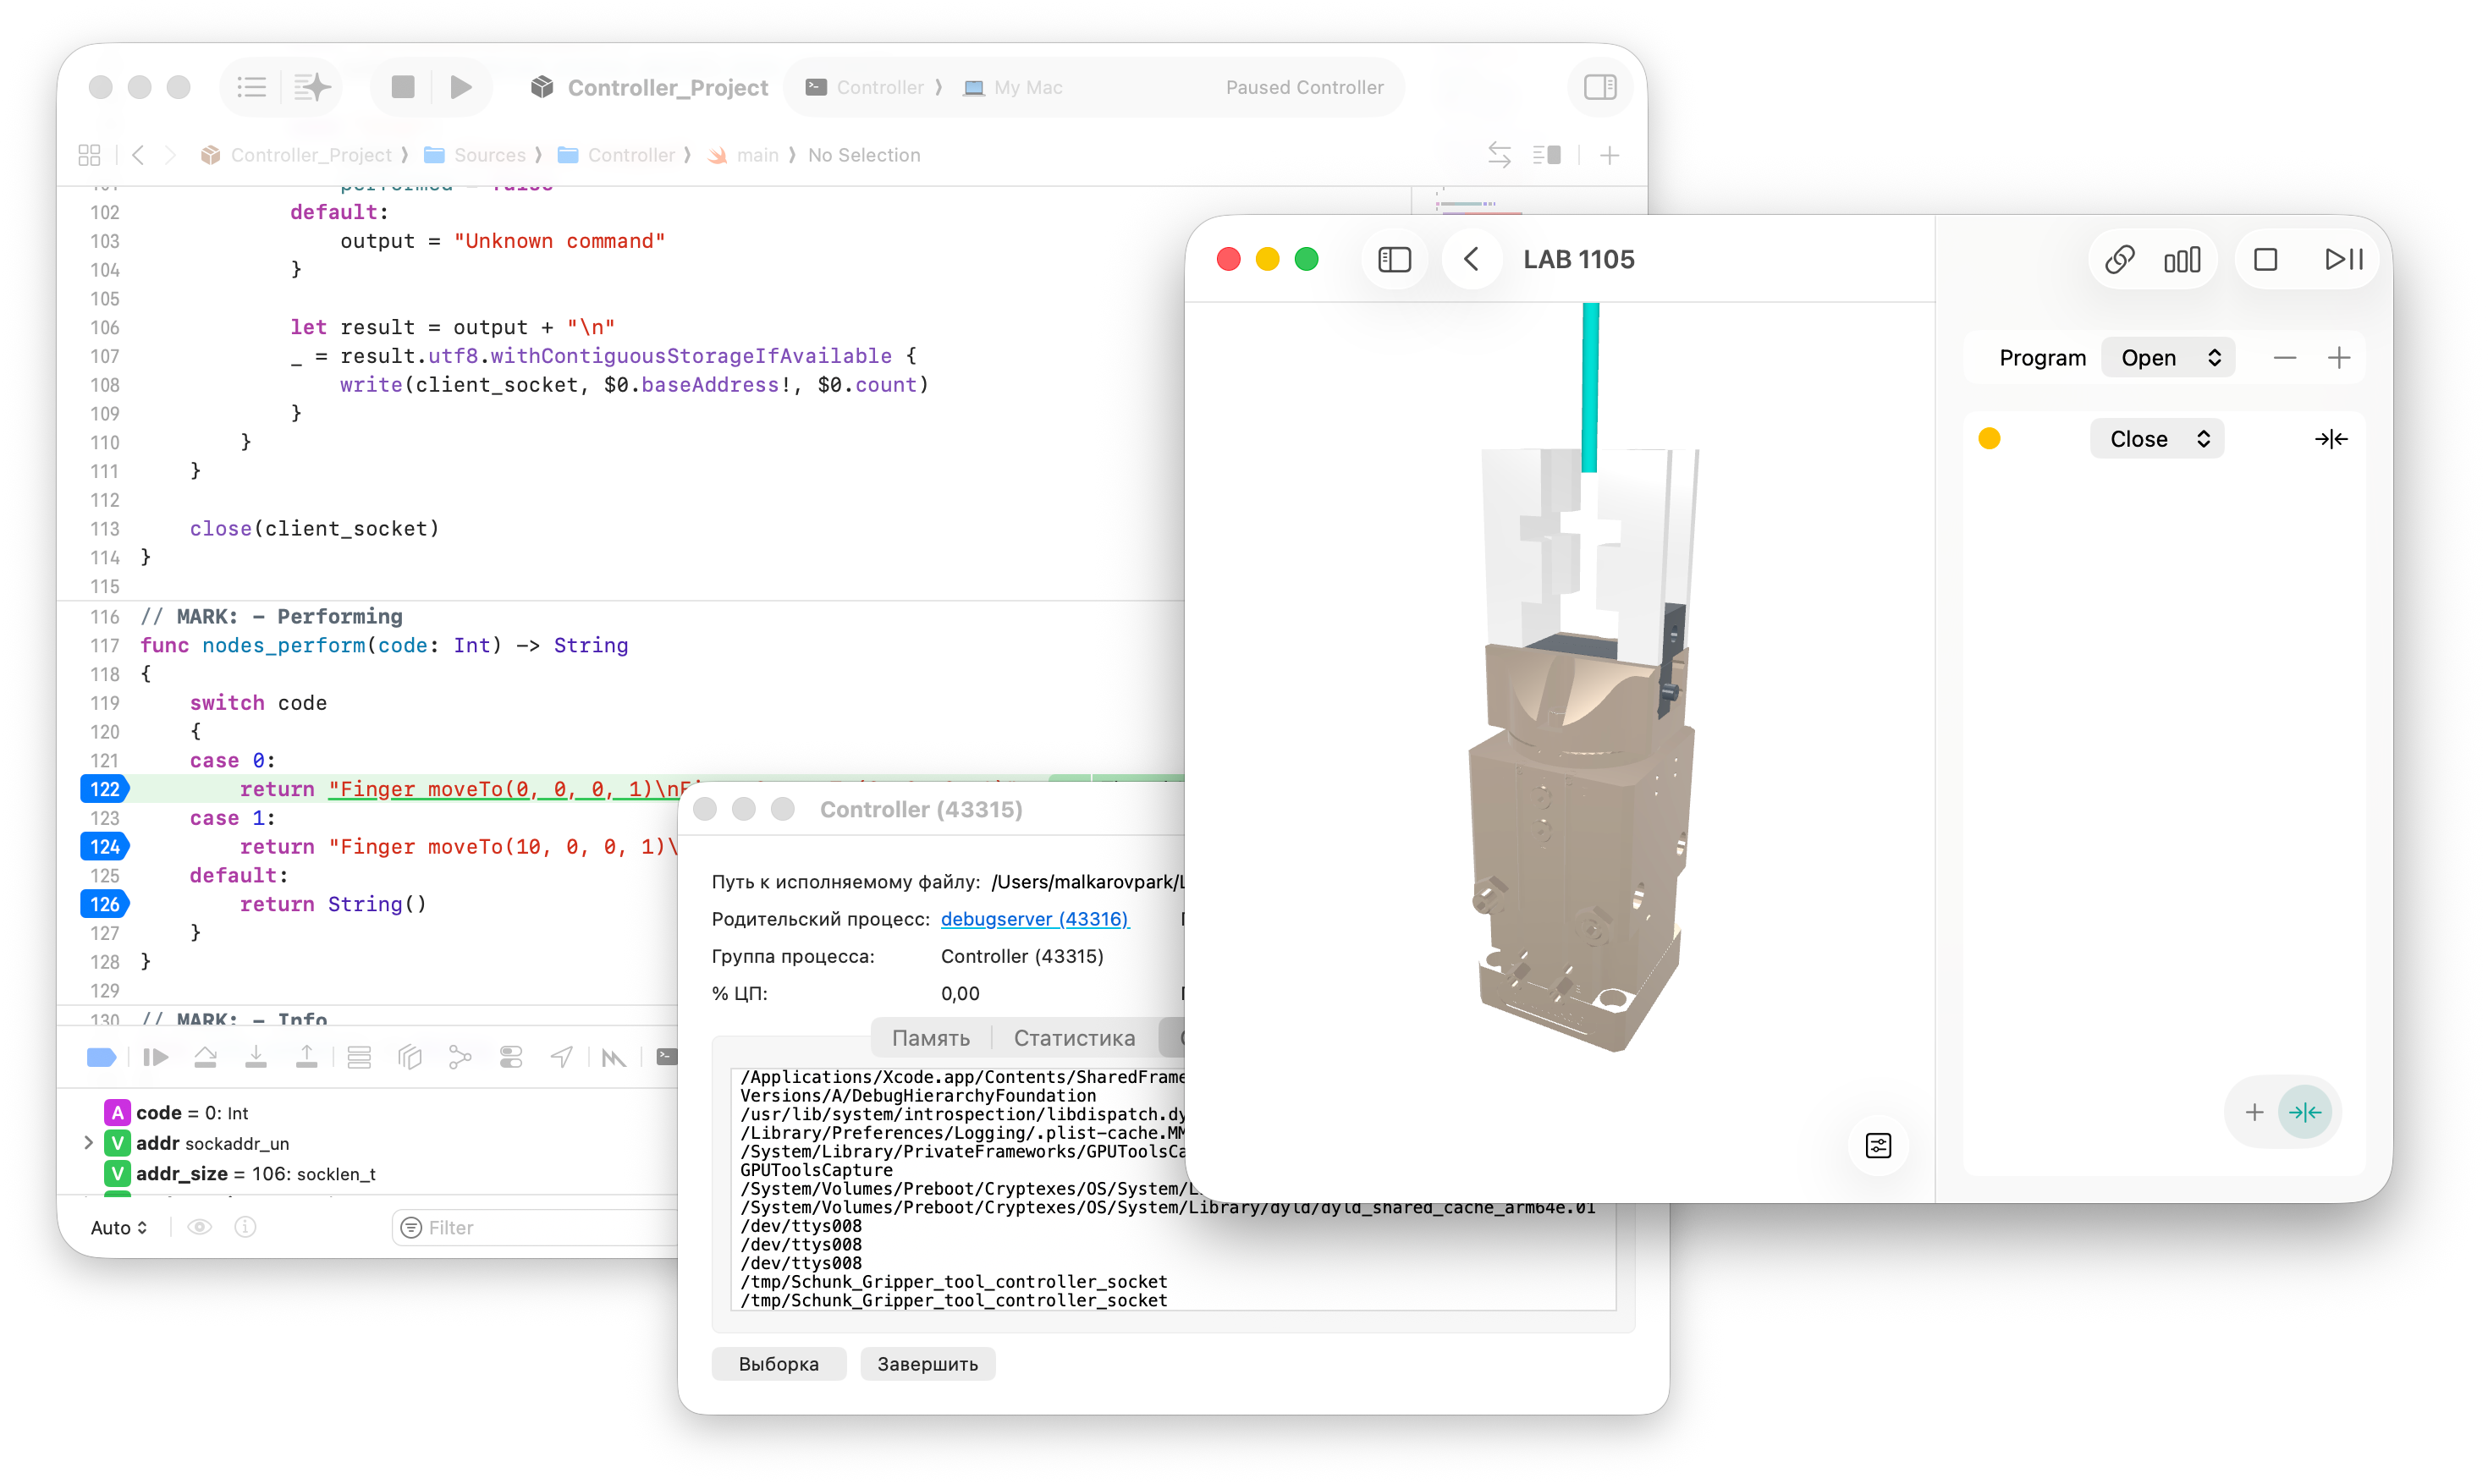
These projects can be used for development and testing of the software components. Components compiled and run via Xcode become available for debugging and are accessible in applications that use external modules (for example, RCWorkspace).
To compile executable files of the modules—run outside of Xcode but while keeping the projects for further development and updates—we again use BuildModulePrograms without additional options:
./BuildModulePrograms.command /Users/malkarovpark/Documents/Industrial/Spline\ Build/Development/Resources/ATI\ F\:T\ Sensor/netft/ATI\ FT\ Sensor.tool
All newly created files automatically replace the old ones.

